overview
In this video we will teach you how to Measure and install an Insect screen for an A&L Awning chain winder Window with sill adapter.
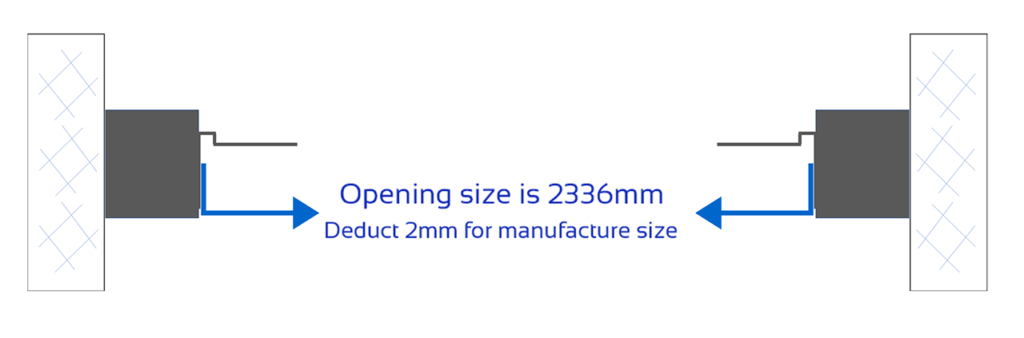
STEP 1 – Measure the width
Measure from the left side of the window jamb to the right side of the window jamb. In this video, the width measurement is 2336mm. For this situation, we deducted 2mm for the Portal ordering manufacturing size of 2334mm.
Note, the sill adapter will have the same width as the insect screen. Use custom ordering if you want a particular size.
STEP 2 – Measure the drop
To measure the drop, measure from the bottom of the window sill, not the chain winder, to the top of the window frame. The opening size is 423mm.
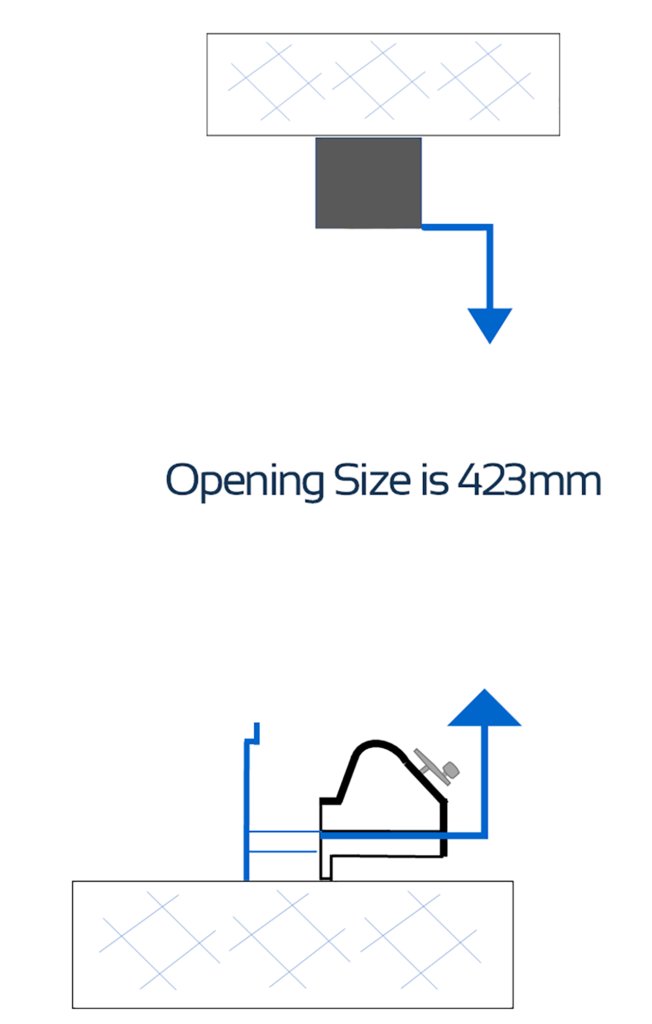
Remember that we are installing a sill adapter to accommodate the screen and free the chain operation, calculate your deductions carefully, in this case it is 53mm for the sill adapter + 7 mm for Deductions, making the screen size 363mm.
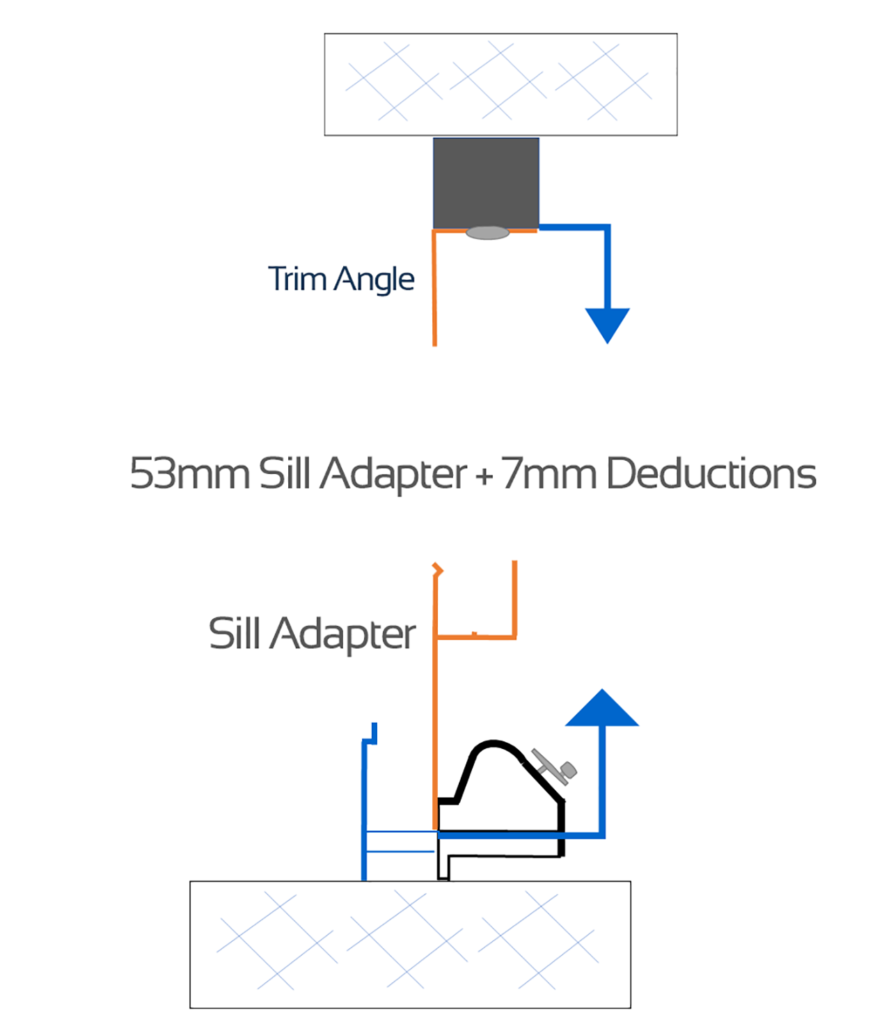
STEP 3 – Measure the trim angle
We are also installing at the top of the window a trim angle. Use our ordering portal to add these accessories when ordering the screen.

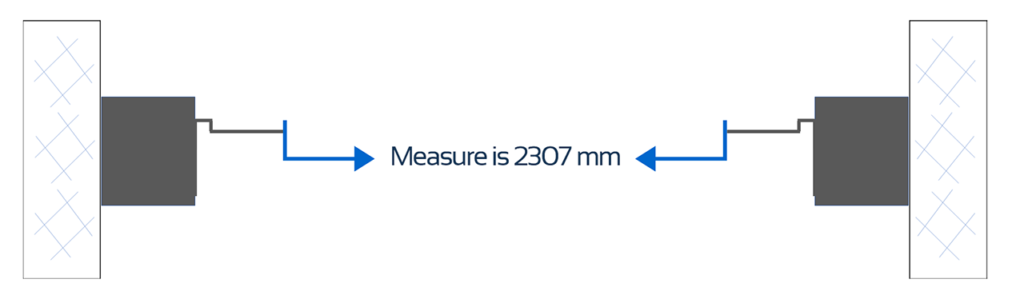
The reason we are installing a trim angle is that A&L do not supply a window fin for the insect screen. To measure the trim angle, place the measuring tape against the left side window fin across to the right side fin. The angle measurement is 2307mm.
STEP 4 – Install the trim angle
Before installing the screen, install the trim angle at the top of the window between the two side fins using pop rivets. Pre-drill holes for the rivets and fix them off.
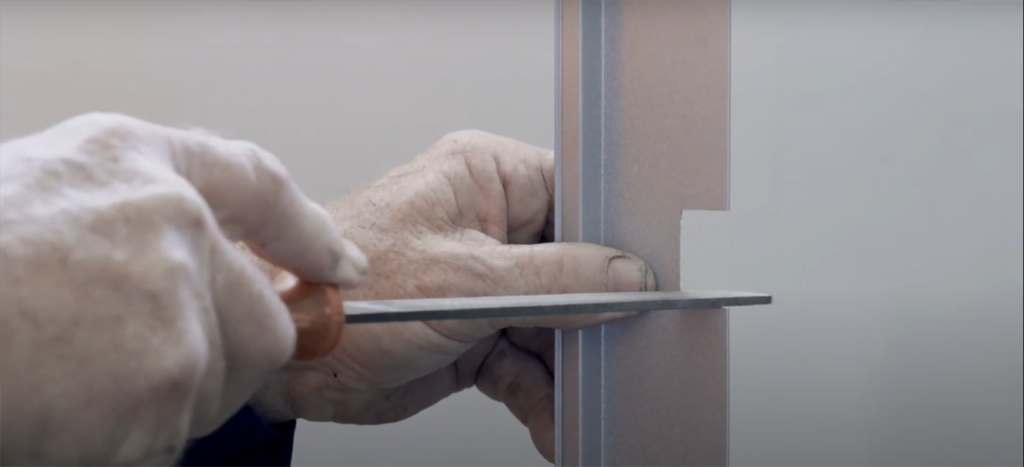
STEP 5 – Cut and install sill adapter
The next step is to cut the sill adapter in the chain section to clear the chain. Use a saw to make the cut and carefully remove the piece of metal, then file the edges smooth. Squeeze the sill adapter onto the bottom of the insect screen.
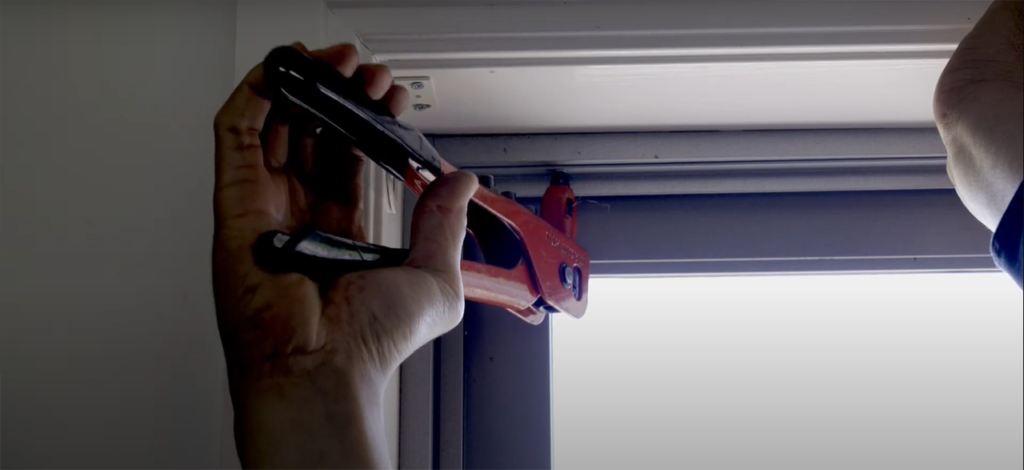
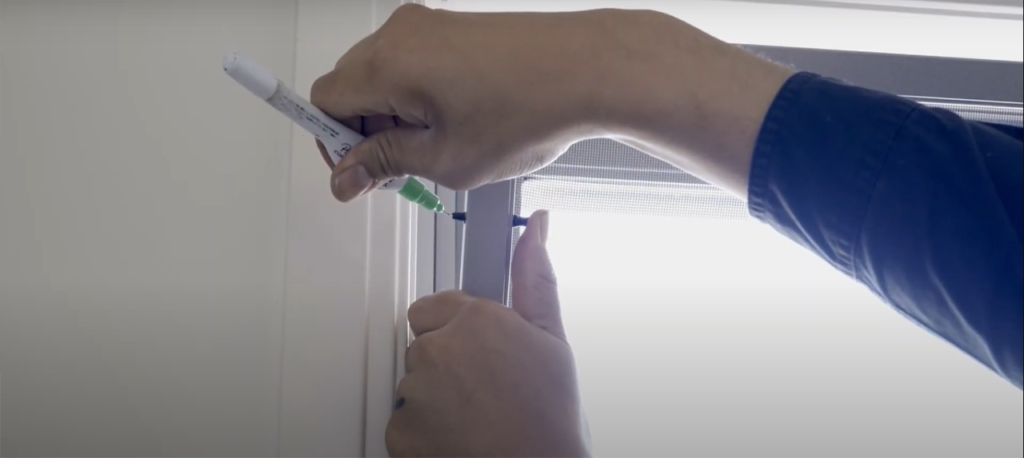
STEP 6 – Pre-drill the holes
With the window in place, mark the push pins with Nikko or whiteout and pre-drill the holes. To finish the installation, engage the pins.
STEP 7 – Inspect the window
Clean the area and inspect the window to make sure the frame and insect mesh are intact.
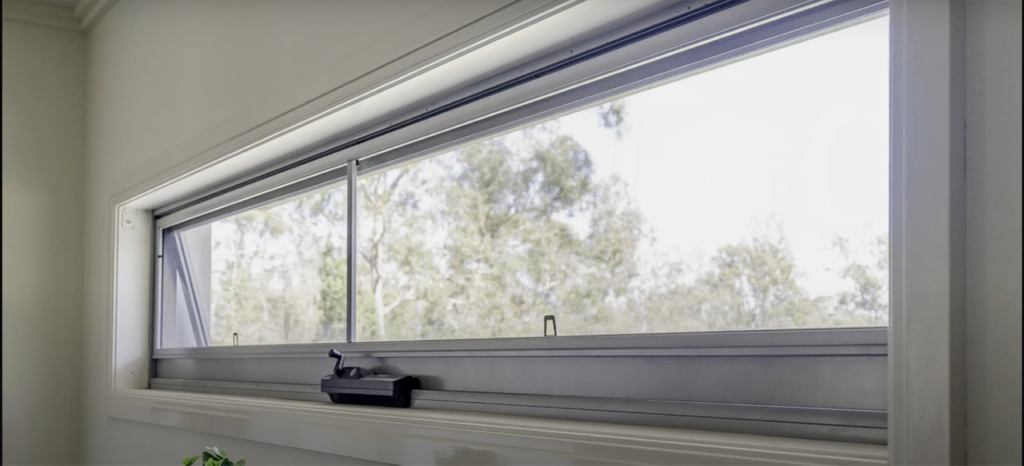
Congratulations, you have finished another Starline Security screen installation.