overview
In this video we are going to show you how to measure and Install a Hinged “out-swinging” Insect screen door to a Timber rebated door jamb.
STEP 1 – Note the colour, location and style of the doorway
Check the pre-existing door handle projection. Compare this with the door jamb width to ensure there is enough clearance, between the wood door handle and the door frame of the insect screen.
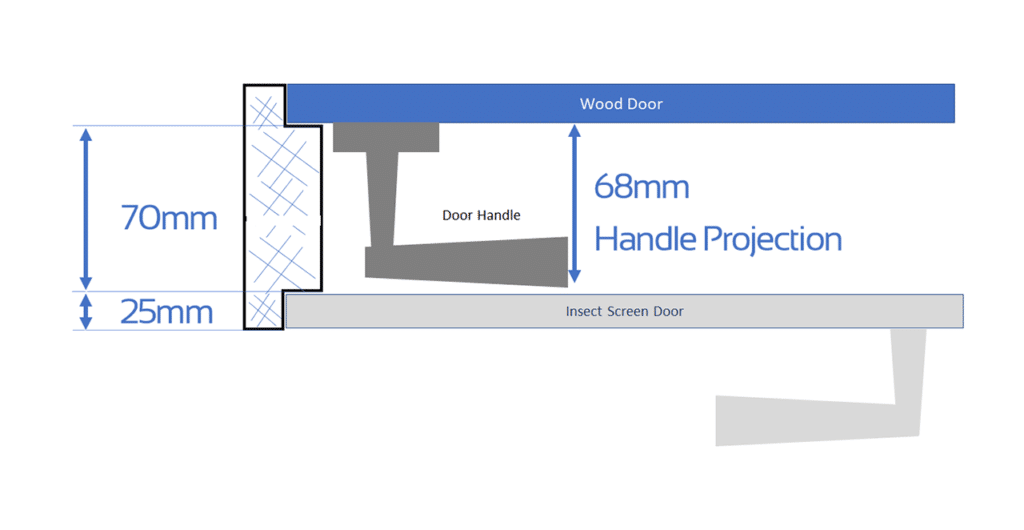
Tip: When installing the insect screen lock on the same side, make the bottom of the lock about 30mm higher than the doors lock handle.
STEP 2 – MEASURE THE WIDTH
Measure the widths from the door jamb rebate to the opposite side. We always measure the top, middle and bottom widths. The top opening measurement was 826mm, the middle 823mm and the bottom 825mm.

STEP 3 – WORK OUT DEDUCTIONS
We typically deduct 8mm from width measurements for wood door jambs.
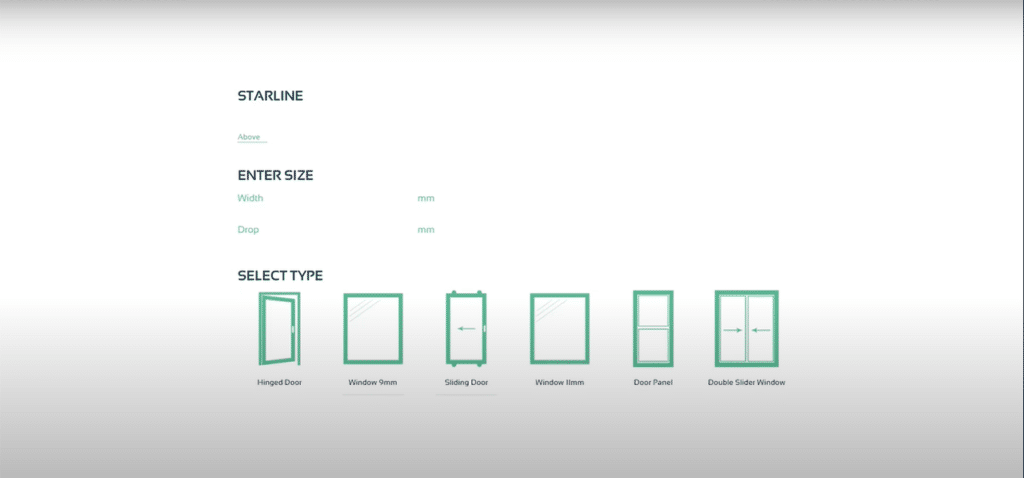
STEP 4 – Ordering Portal manufacture size.
Because a flyscreen door critical measurement is the middle width, when you have an out-of-square door you can adjust the deductions for the top and bottom. We suggest making the door squarer than the opening sizes.

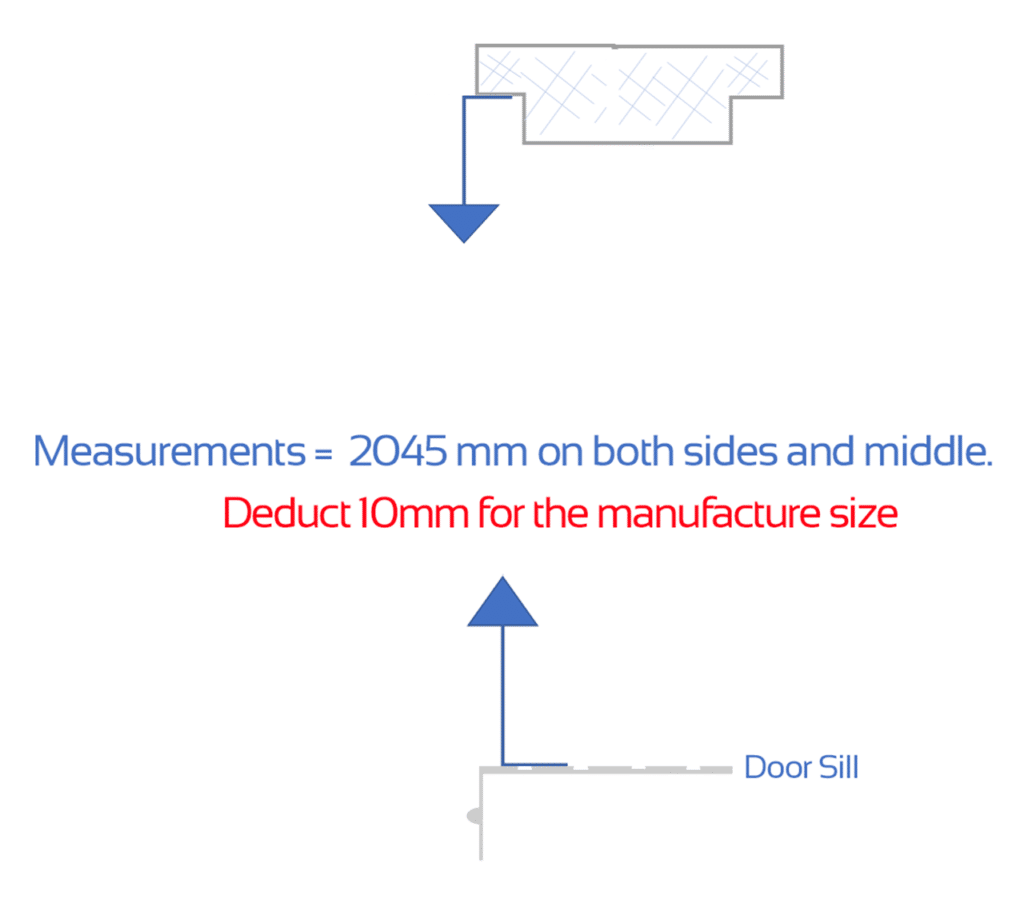
STEP 5 – Measure the drop
Measure the opening height from the top jamb to the bottom sill. All these drops are equal, measuring 2045mm. Deduct 10mm for an ordering size of 2035mm.
STEP 6 – Measure Lock Height
In this installation, we predetermine the height of the lock to 1100mm from the sill to the bottom of the lock body.
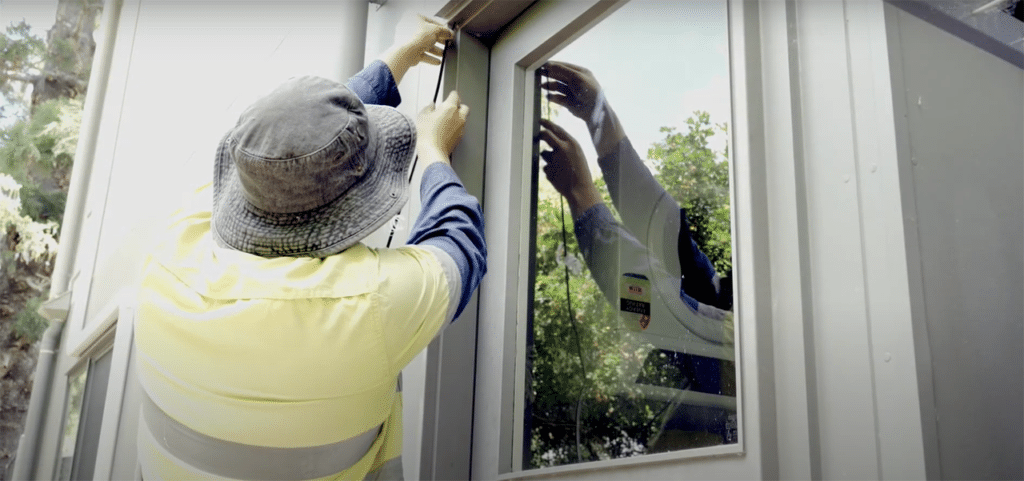
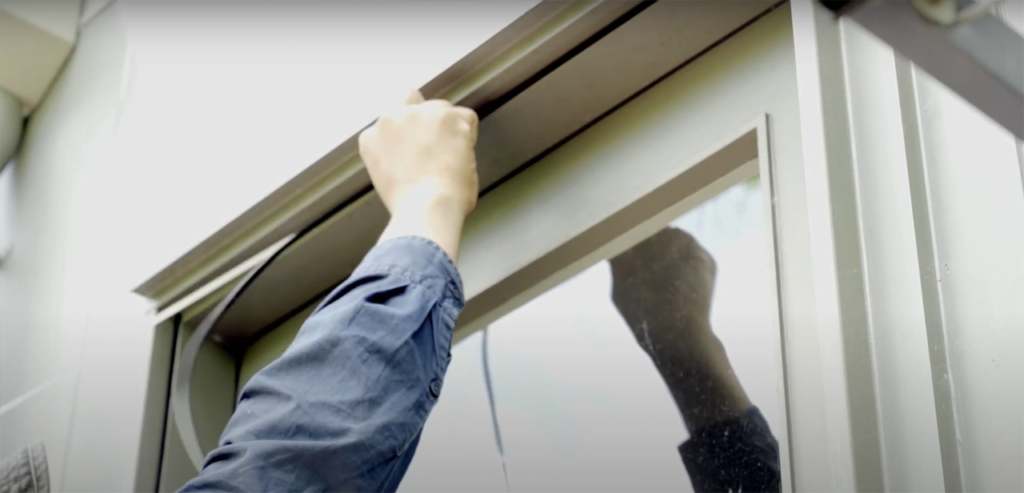
STEP 7 – Install the stick-on-pile
Install the stick-on-pile in the door rebate. This pile helps to seal up the door and reduces closing noise.
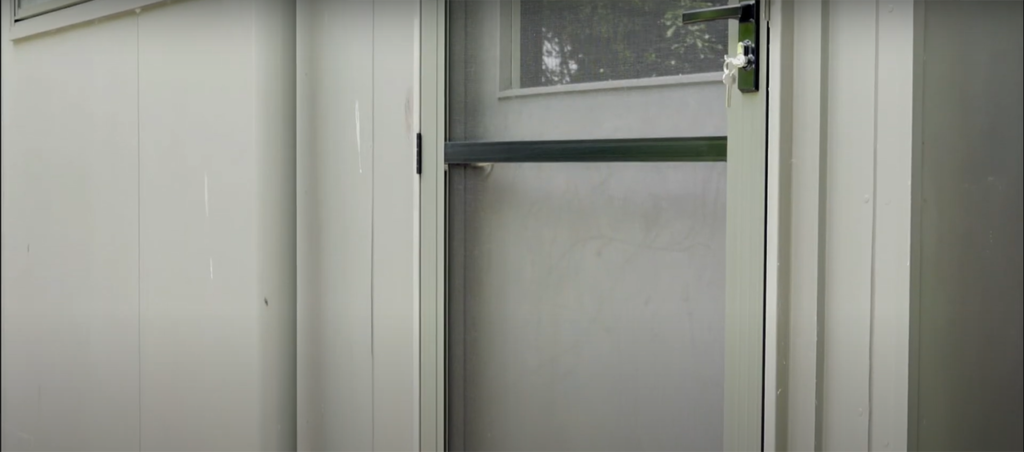
STEP 8 – Install the door
Lift the door into place and fix off the hinges, middle hole only. Test the squareness. Adjust if necessary with hinge packers and when square you can fix off the remaining hinge screws.
STEP 9 – Fit the lock
Fit the lock to the door. Then close the door and mark the tongue striker position.

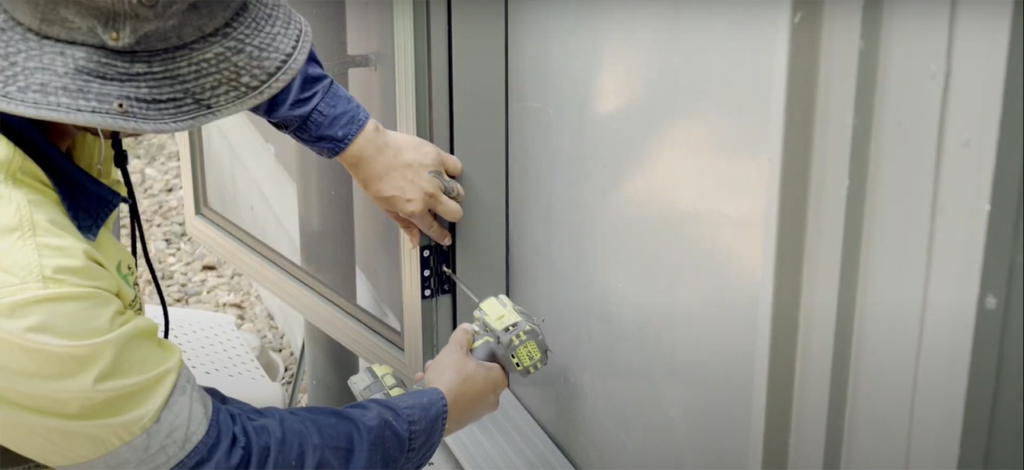
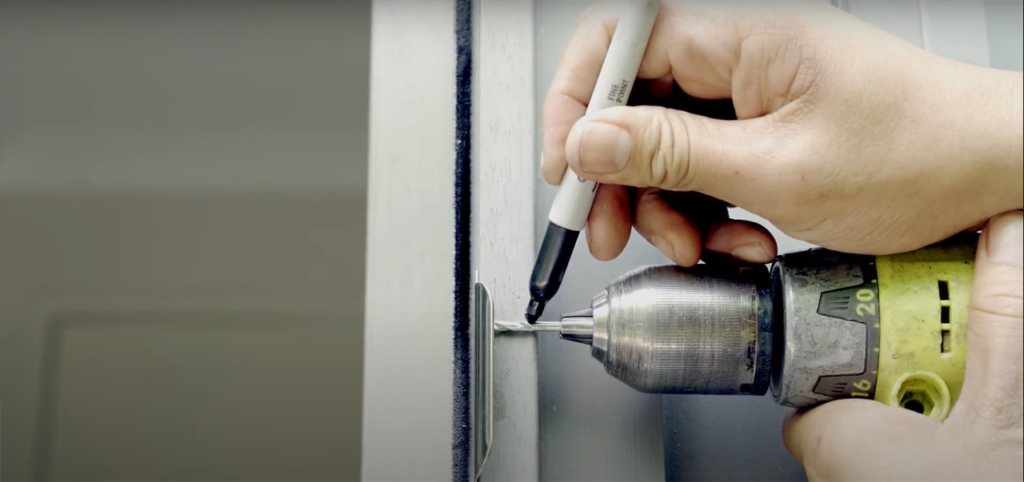
STEP 10 – Fix off the striker plate
Fix off the striker plate to the jamb with screws. Before drilling for the tongue, measure your drill bit and mark with a sharpie against the jamb width. Drill carefully to cut out the tongue hole. Use a sharp chisel to finish the tongue hole.
Tip: Mark the chisel depth with a pencil to avoid going through the wood door jamb. When completed, test the lock.
STEP 11 – Install the door closer
Install the door closer (check out our other video) and finish the installation installing the bug strip.
Do you want to become a Starline Security dealer? Contact us for more information.