OVERVIEW
In this video you will learn how to measure and install a Diamond Grille Seurity Door to an older Bradnams sliding door.
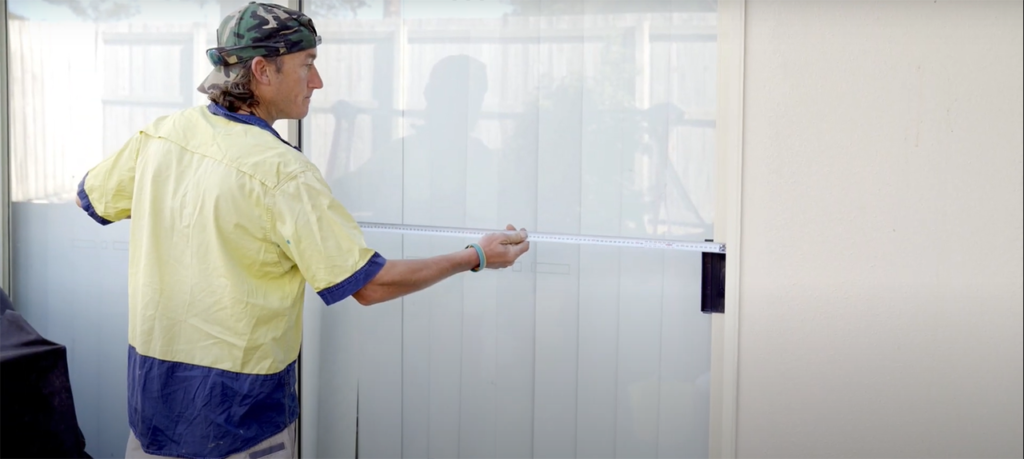
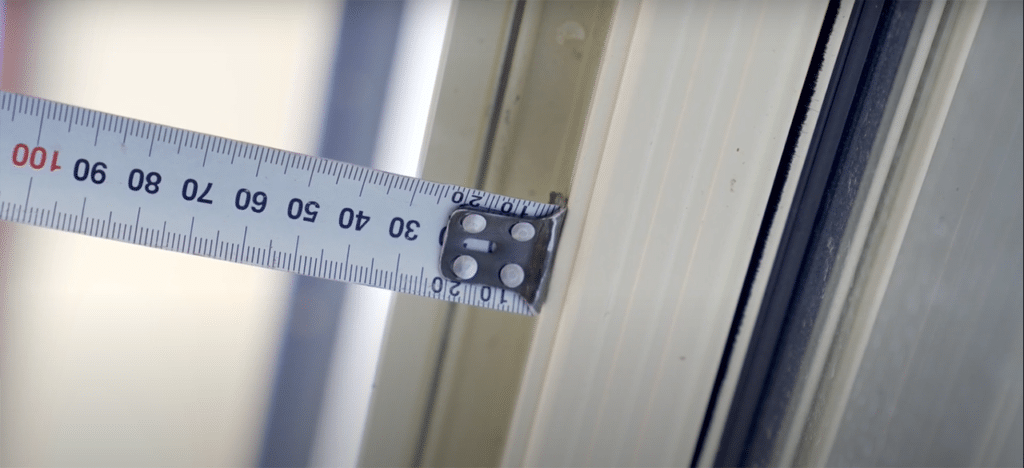
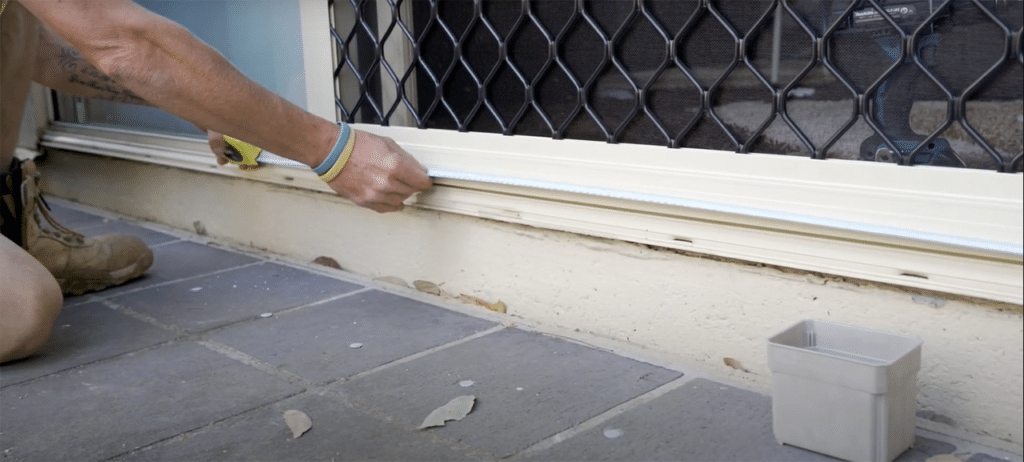
STEP 1 – Measure the width
To measure the width, measure from the inside of the receiver channel to the outside of the glass door back interlock.
STEP 2 – Measure the drop
Measure the drop from the top pip track to the top edge of the bottom sliding door pip track.
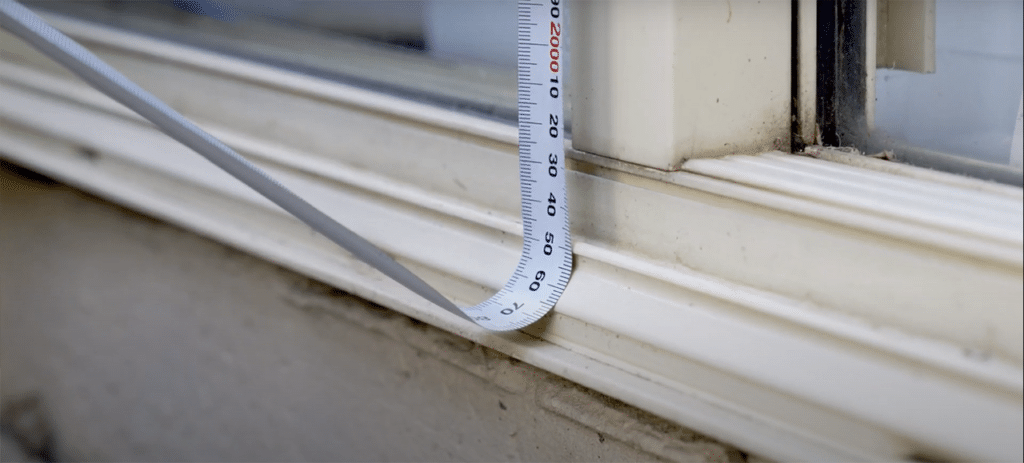
Note. When measuring from pip to pip, deduct between 10 and 14mm to allow wheels to fit on both upper and lower sill tracks.
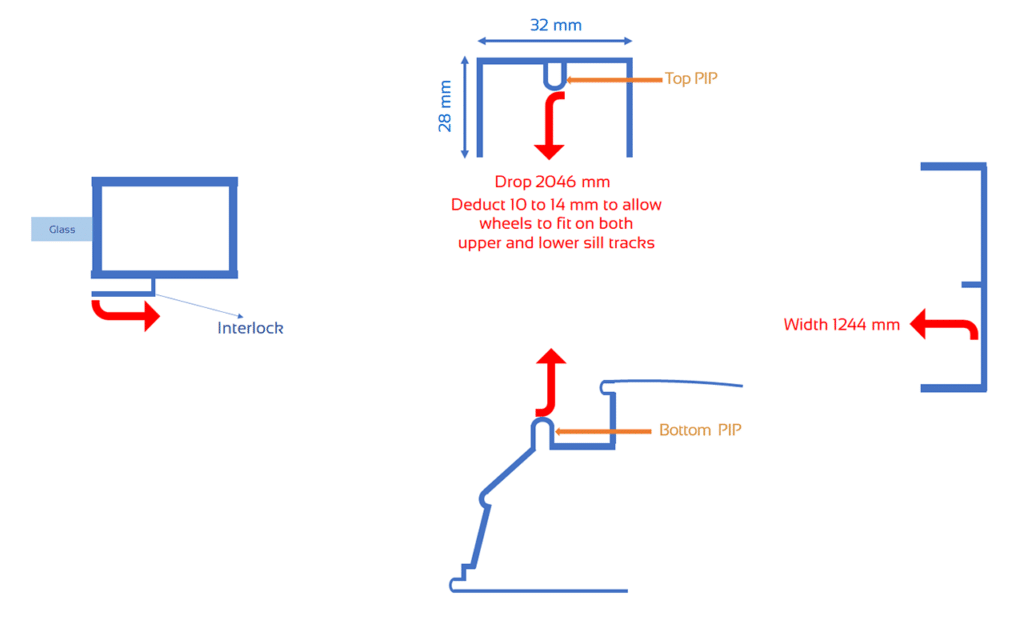
In this case, the width manufacture size is 1244mm and the drop manufacture size is 2036mm.
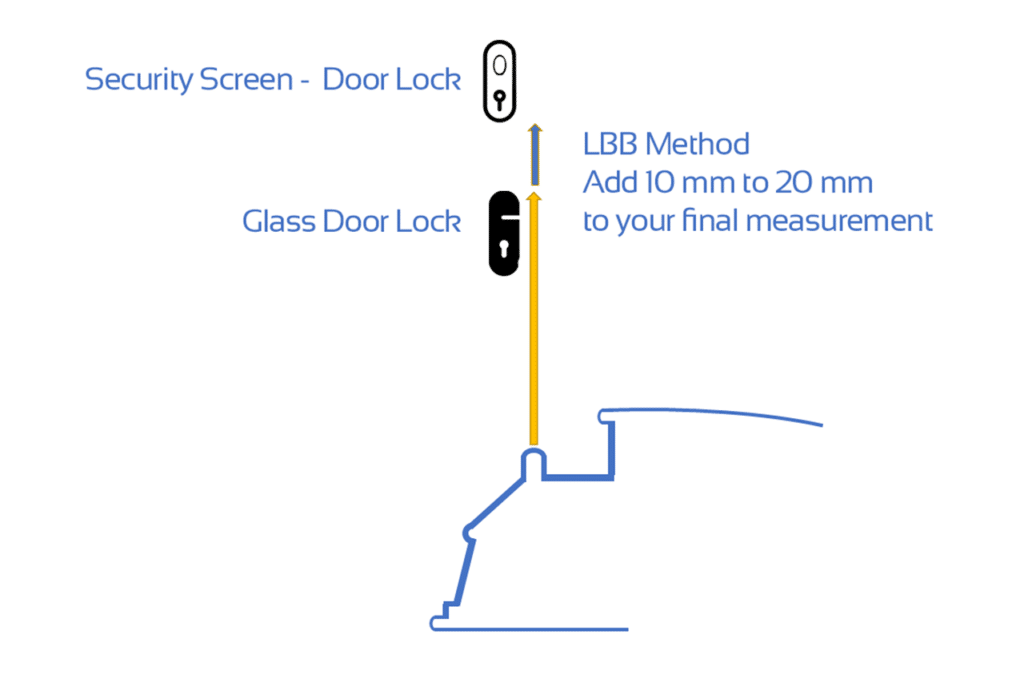
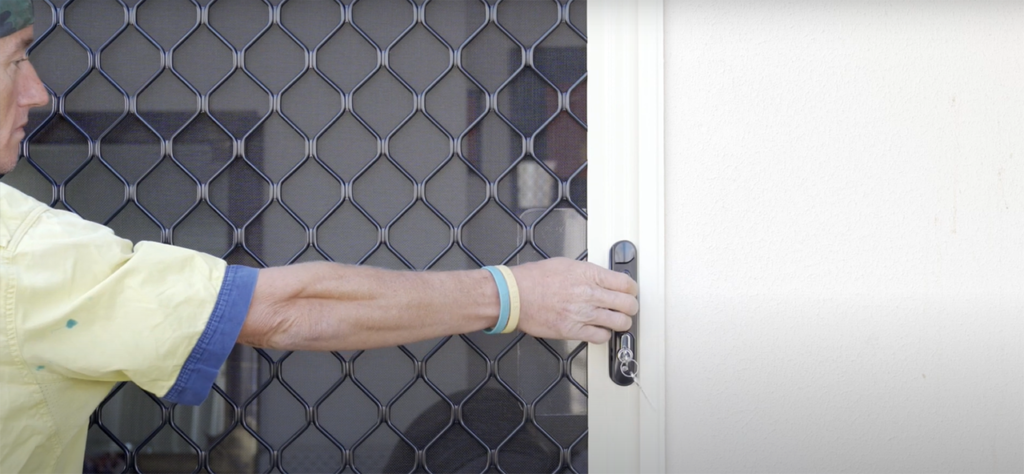
STEP 3 – Measure the lock
To find the lock height, measure from the sill track to the top of the door handle and add about 10 to 20mm.
STEP 4 – Measure the top guide
To measure the top guide bring some samples with you and place them inside the sliding door top channel. Move them from side to side to check clearance and select the right one.
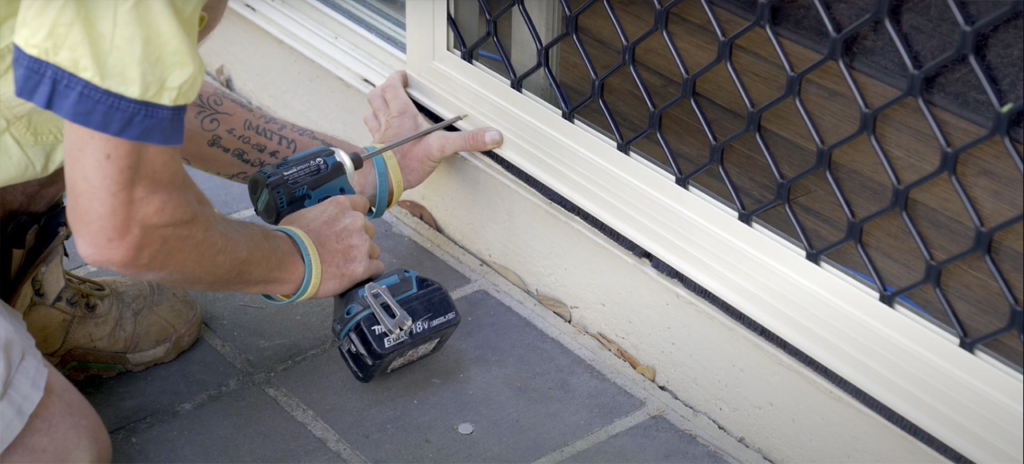
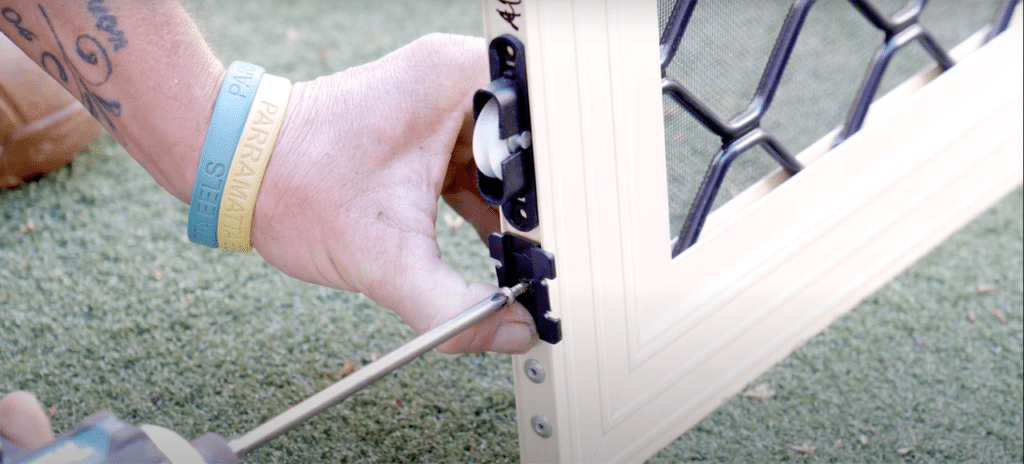
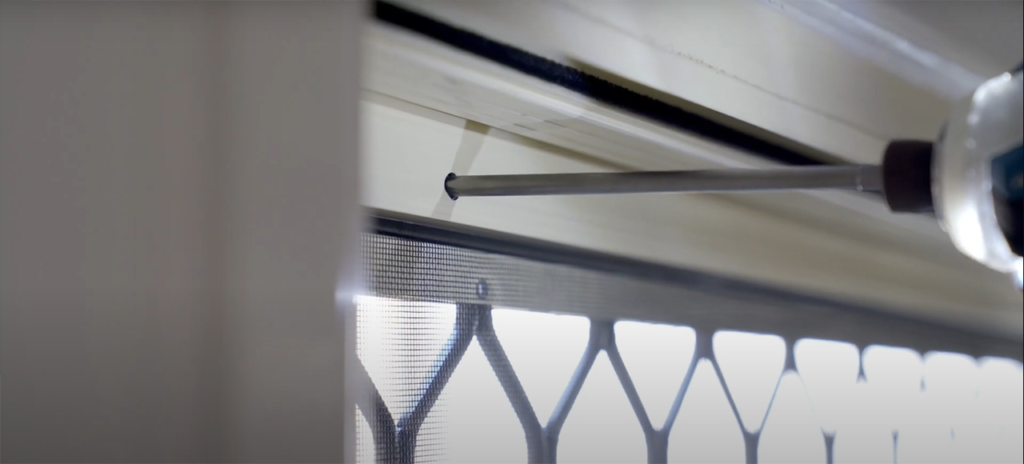
STEP 5 – Fix top guides
Fix the top guides onto the top of the security door positioning them outside of the sliding door wheels.
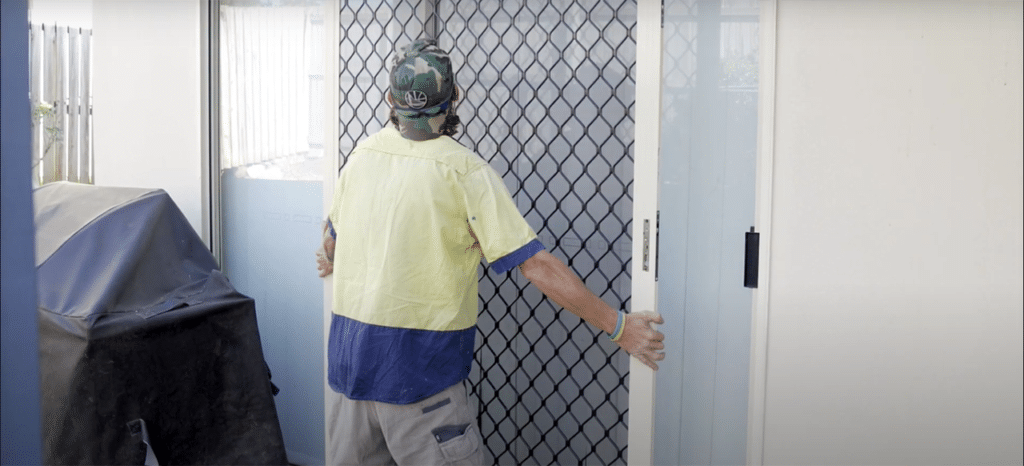
STEP 6 – Install the door
Carefully lift the door up into the top channel. Then swing the door across lifting the bottom wheels and locating them on the bottom pip track. Once lifted and positioned correctly the door will slide sweetly on the bottom pip track.
Check if the door slides well and closes square with the receiver.
STEP 7 – Align the door
If the security door is not aligned, adjust your bottom wheels from the inside and align the security door lock side stile with the receiver jamb channel.
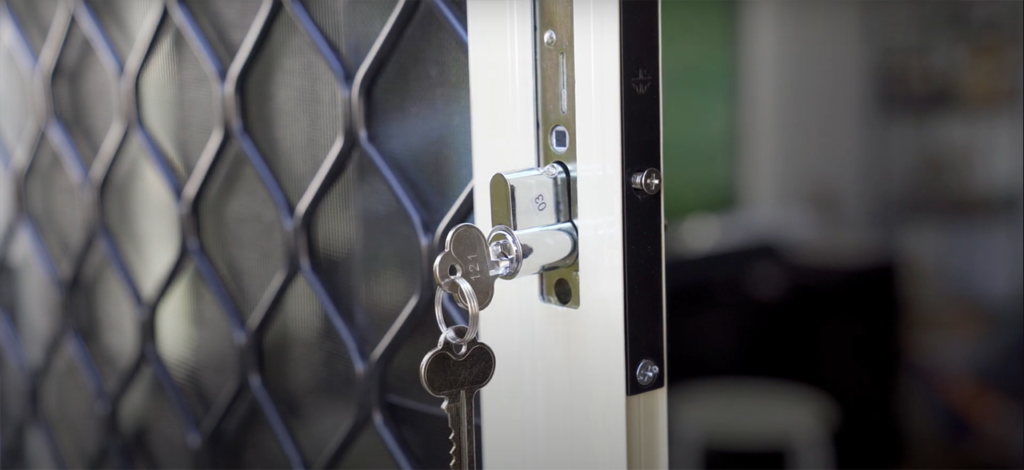
STEP 8 – Install the cylinder
First, install the cylinder. Face the cylinder tongue towards the jamb, turn the key and then insert and tighten with the cylinder screw provided.
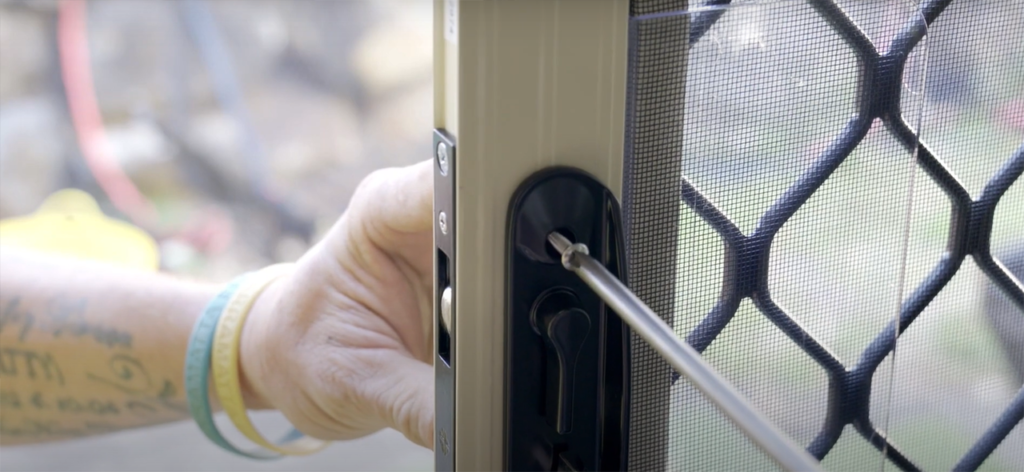
STEP 9 – Install the lock
Install the lock handle faceplates and the snib on the inside part of the door. Insert and tighten the screws.
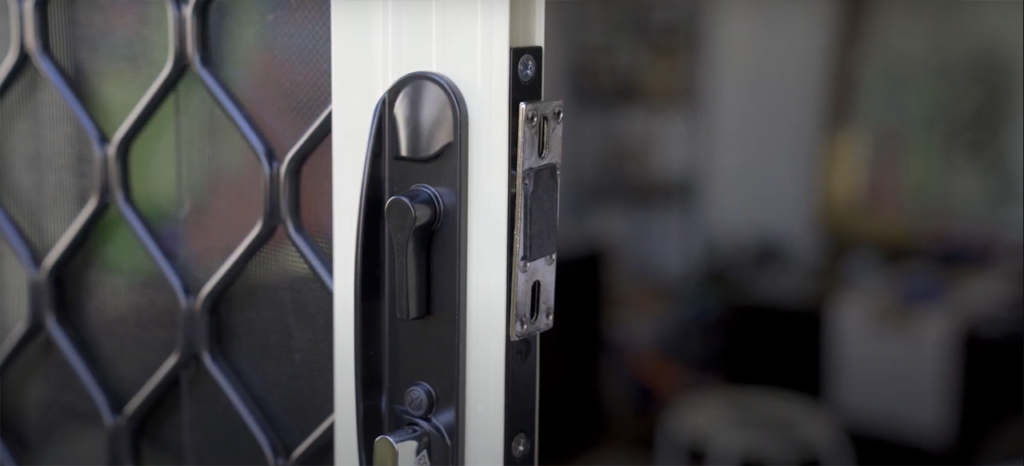
STEP 10 – Install the striker
To install the striker, insert striker plates, lock the door and peel the tape off. Slide the door to the closed position and push slightly. Unlock and open the door. The striker plates will be attached to the receiver channel in the correct position.
Before fixing off the striker make a small hole in the receiver where you will screw. Then screw the striker plates using the screws supplied in the lock kit.

STEP 11 – Check the lock alignment
If the lock closes tight, you may need to add the supplied packers behind the centre striker plate. Recheck if the door locks smoothly.
STEP 12 – Measure the interlock
Measure from the bottom of the fixed glass door side sill to the top of the glass. Deduct 10 mm for the cut size of your F-Interlock.
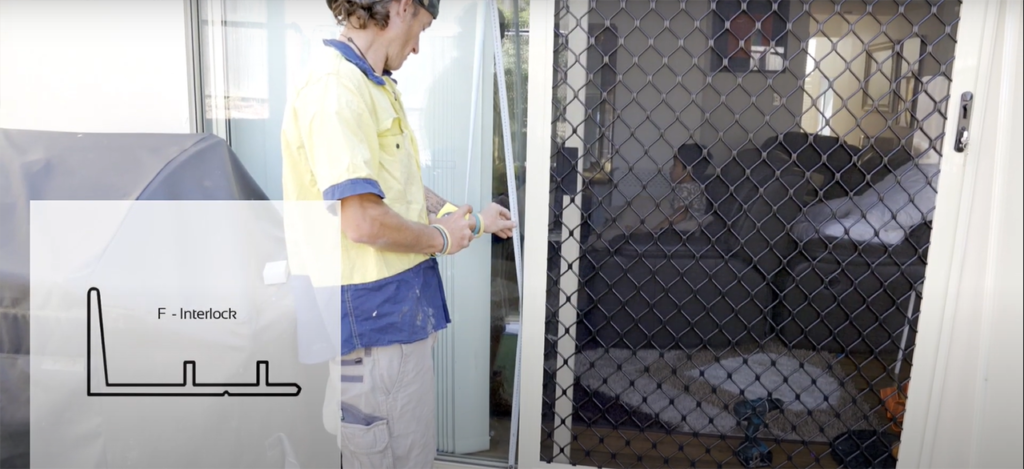
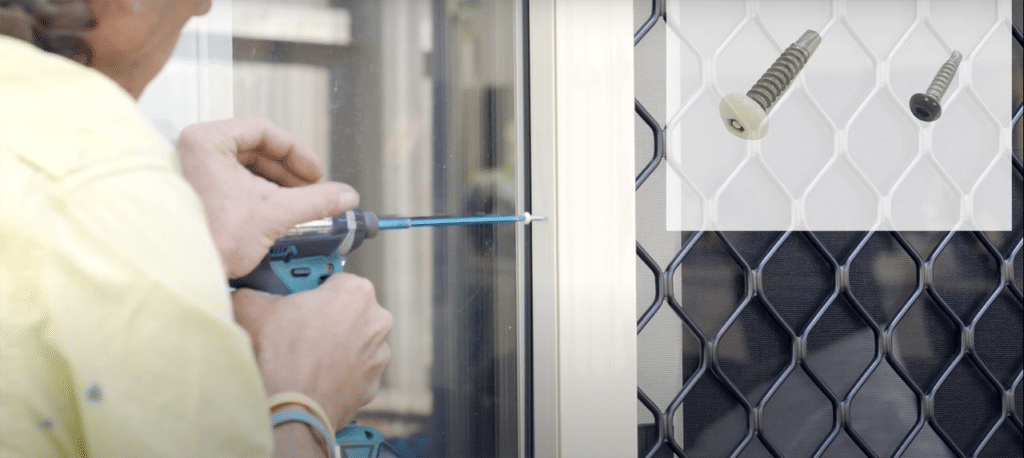
STEP 13 – Install the interlock
Position the F-interlock to the back edge of the security door finding the centre of the door and aligning the F-Interlock tongue into its receiver. Once aligned, fix your F-Interlock to the security door with security screws. Image 6. We recommend 9 equally spaced screws for a 2100mm security door and 11 for a 2400mm door.
STEP 14 – Measure and install the bug strip
Now measure and install the bug strip. Measure from the tip of the receiver channel to the back edge of the door. Then insert the fringe into the strip, cut to size and clip both ends for a secure fit.
STEP 15 – Fix the bug strip
To finish the installation, fix the bug strip with screws. Clean the floor and any debris from inside the bottom channel.