overview
In this video, we will teach you how to measure and install a Security Screen to an A&L OX Sliding Window.
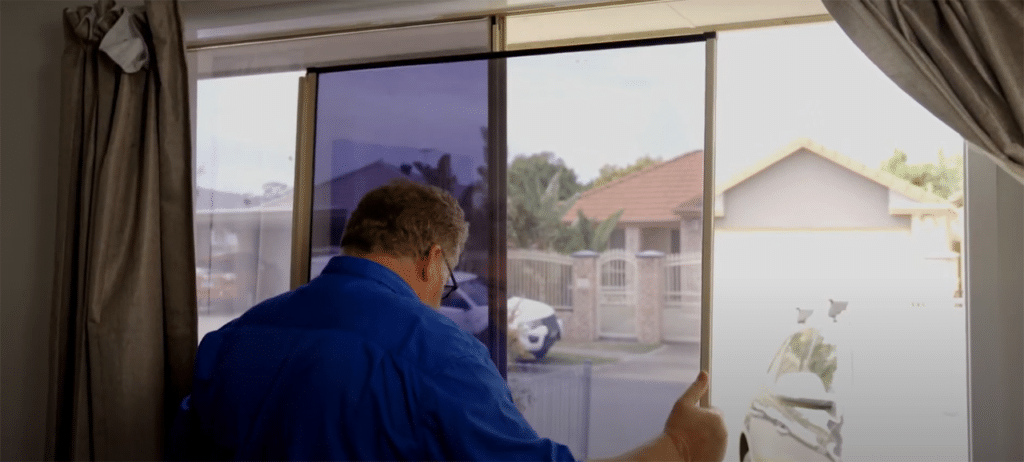
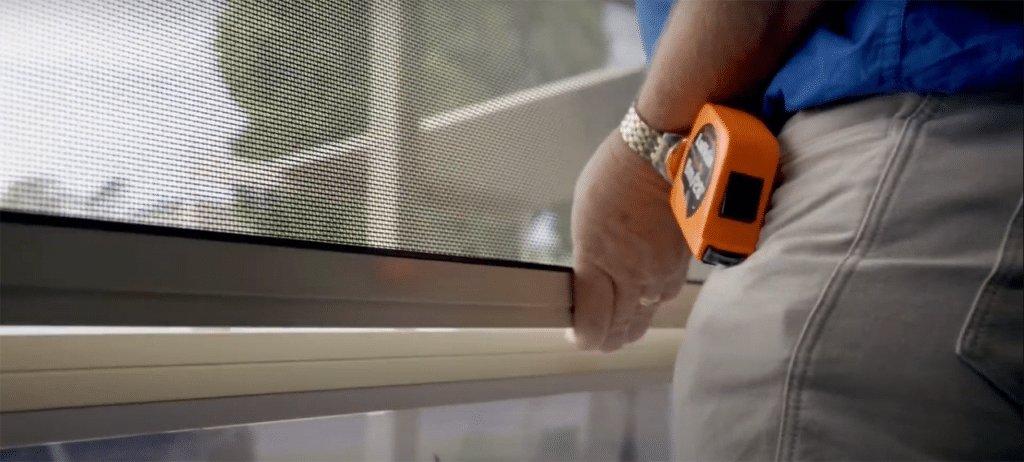
step 1 – REmove the glass window
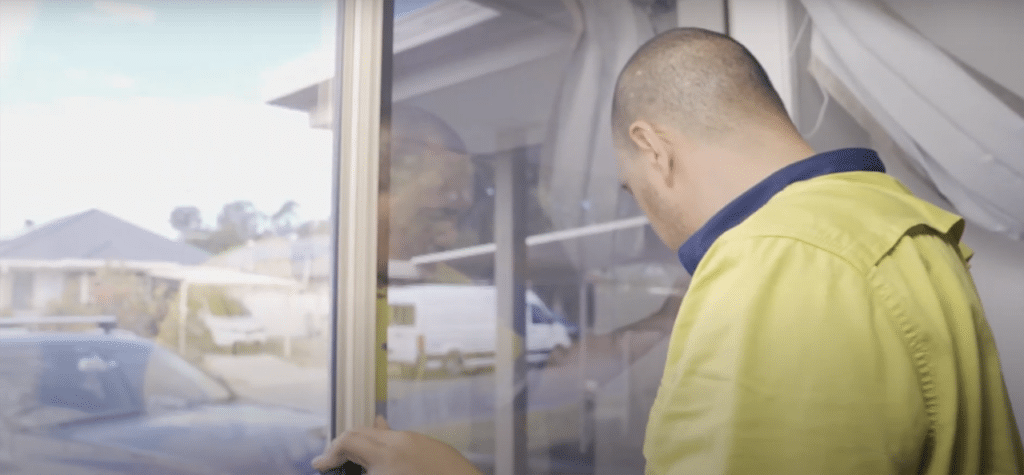
To make it easier to measure, remove the glass window and carefully store in a safe place. Measure to find the minimum and maximum width measurements.
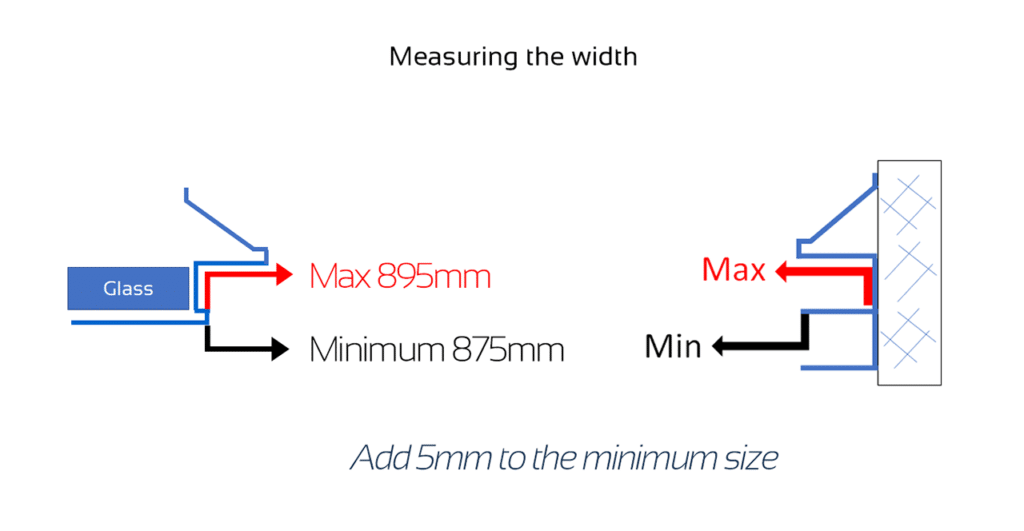
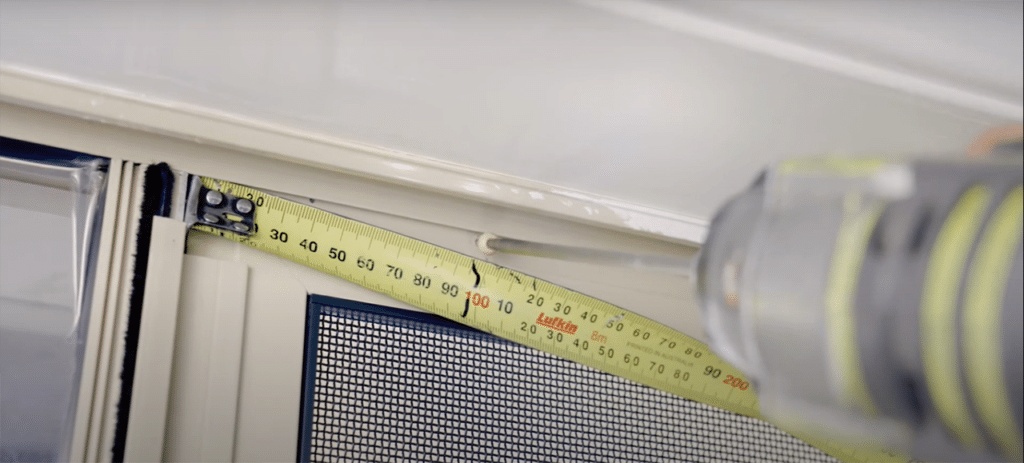
step 2 – measure the width
To find the minimum, measure from the mullion to the lip of the receiver side channel. In this situation, the measuring size is 875 mm. To find the maximum, place the measuring tape inside the receiver side channel and measure across to the mullion. The maximum is 895 mm.
STEP 3 – use an F-Interlock
For this installation, we will use an F-Interlock installed on the mullion side. We like to have at least 5mm per side for fixings. Security screens don’t like twisting in very much. The manufacturing size has been decided at the minimum plus 5mm. In this case, the width manufacture size is 880 mm.
What do you think it should be?
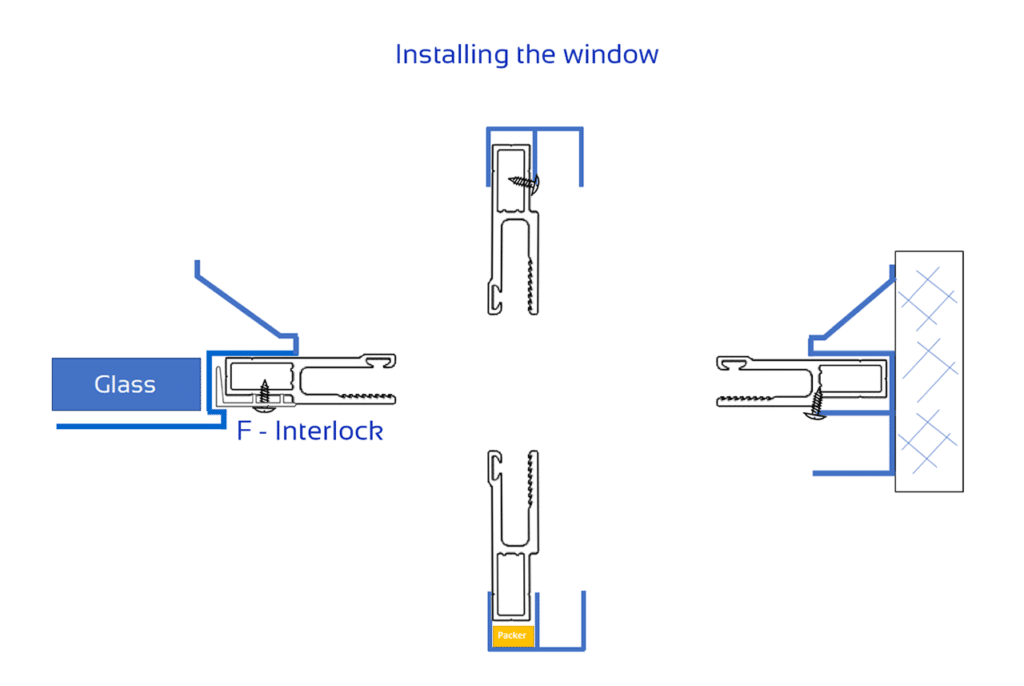
Note: These A&L OX sliding windows have a packer in the bottom channel. If these are not there, snip a small piece of stop bead and place it in the bottom of the channel.
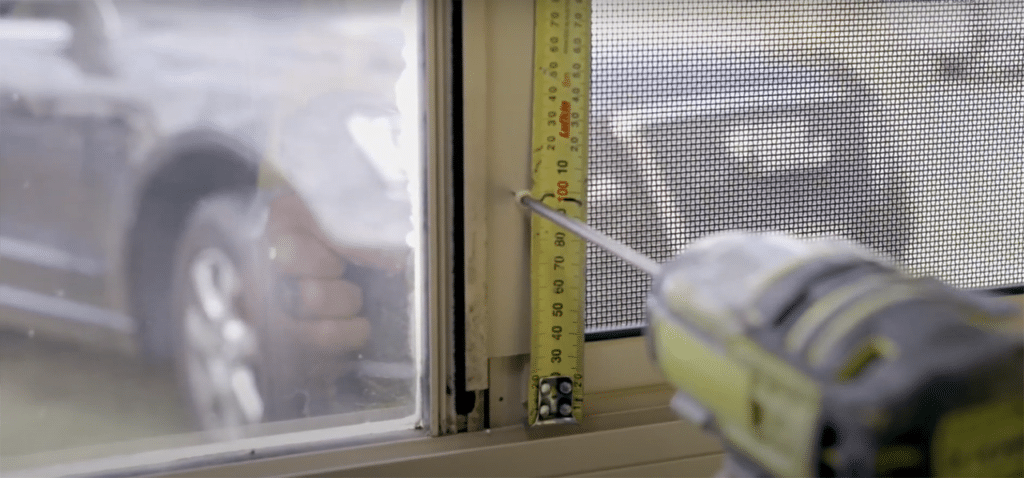
STEP 4 – measure the drop
To measure the drop maximum size place the measuring tape inside the top channel and measure to the lip of the bottom channel. The measuring size is 1327 mm. To find the minimum, measure from the bottom channel packer to the bottom edge of the top channel, which is 1319 mm. For the manufactured size, we added 5 mm to the minimum size, rounding up if needed.
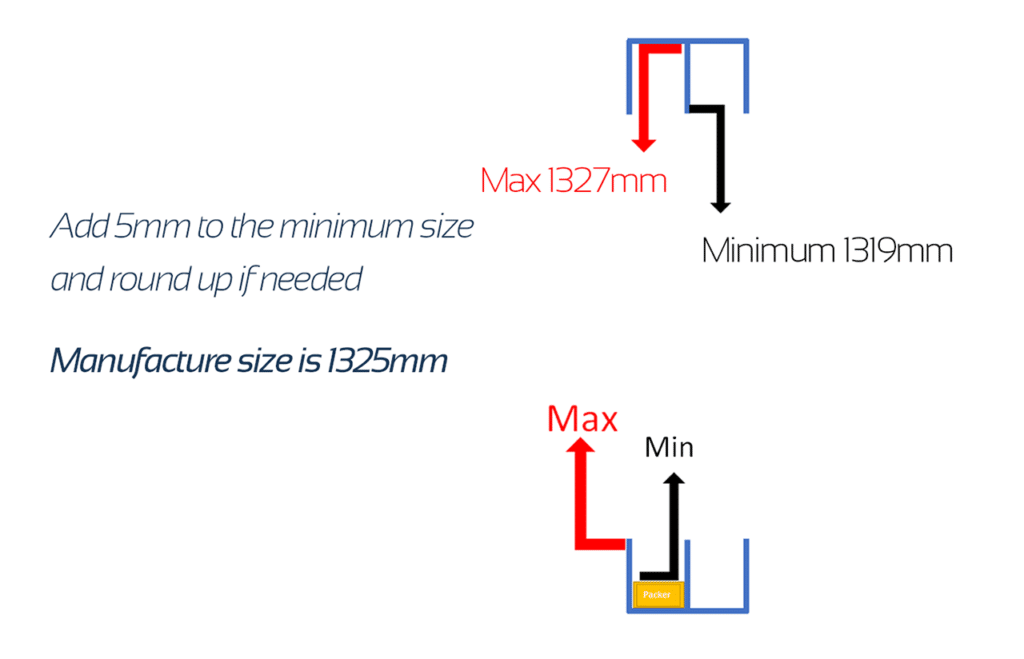
Note: The screen drop OrderingPortal manufacturing size is 1325 mm
step 5 – Install the screen
A drop-in, pocket fit method combined with twisting the screen in will be needed to install this window. Place the top corner of the screen inside the receiver side channel and push it up towards the top. While pushing it up twist the other side of the screen until it aligns with the top channel.
When it does, lift the screen up to the top channel until the screen pops up over the bottom channel’s top lip and it drops into the bottom channel.
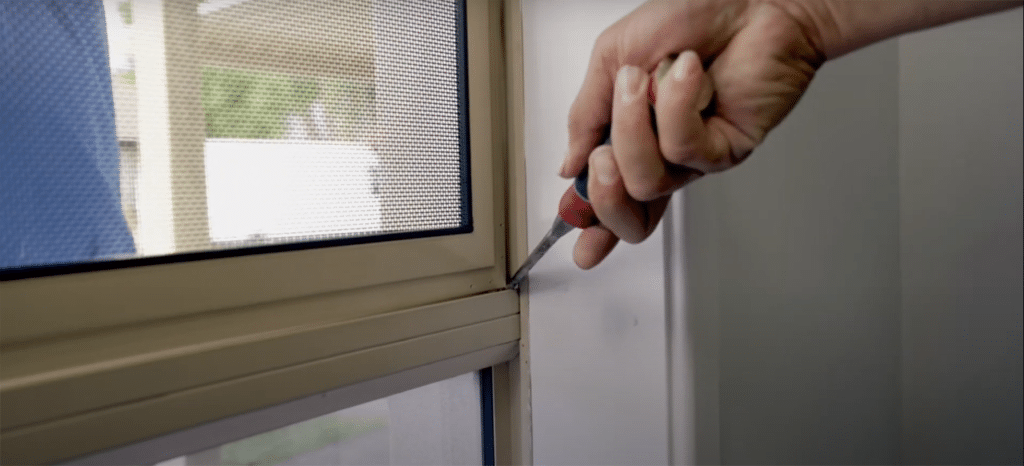
step 6 – Install an F Interlock
Install an F Interlock onto the mullion side and fix with screws. When fixing the receiver side we screw behind the jamb lip. Repeat the same operation at the bottom of the screen. Measure from the top and bottom to find the screw spacing measurement for a neat install. 4 screws per side are typical.
step 7 – install the top and bottom screws
Install the top and bottom screws measuring 100 mm from the side.
step 8 – reinstall the glass window
Clean the bottom track and reinstall the glass window.
There you go! We have the security screen fully installed.