overview
In this video, we are going to teach you how to measure and install a fly screen sliding door set to an O X X O Commercial sliding door. When measuring and installing, select the tools you need to measure and install to avoid going back and forth to your vehicle multiple times.
STEP 1 – check items
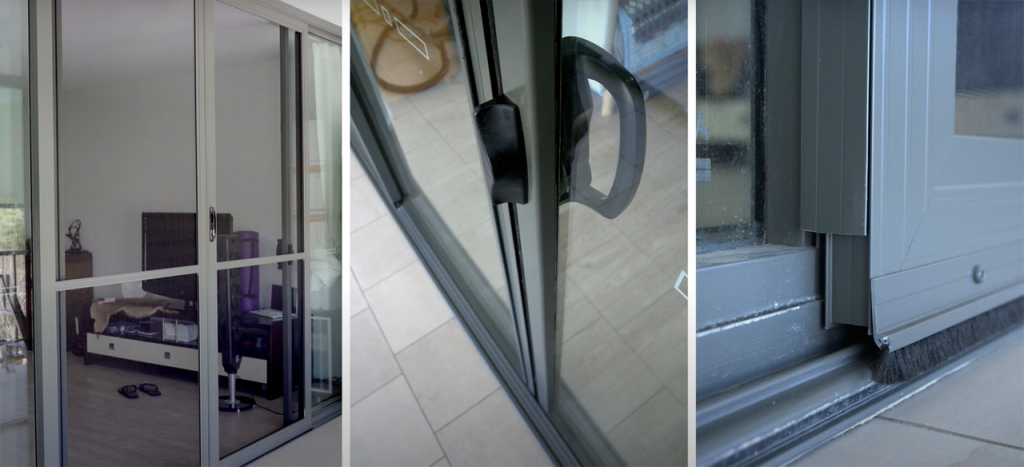
When check-measuring for an insect OXXO door, don’t forget to note down the compulsory items and any accessories you will need to complete the job.
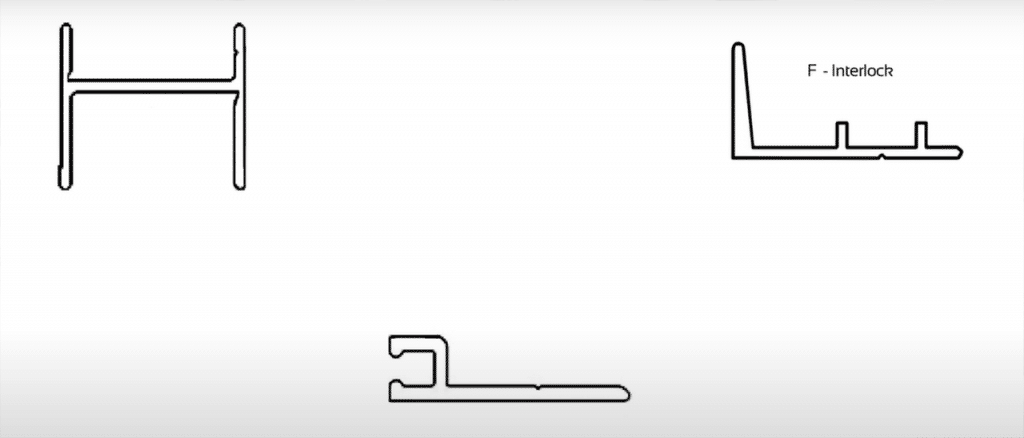
These can include interlocks, bug strips, H receivers and sometimes top and bottom tracks.
For this job, we are installing 2 F interlocks, a H receiver two 25mm bug strips, one for each sliding door.
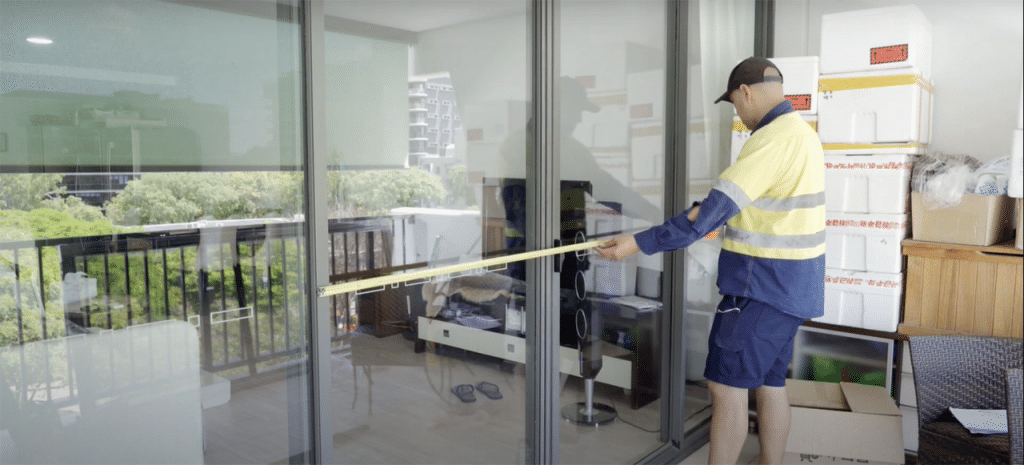
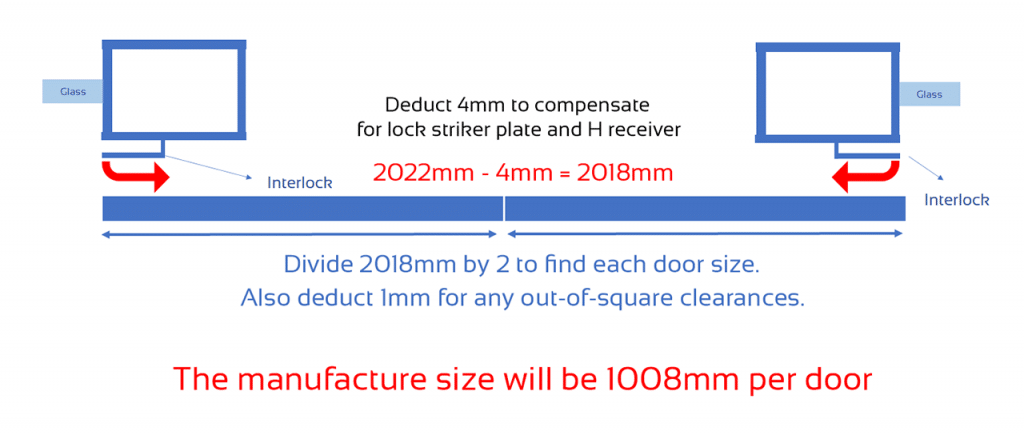
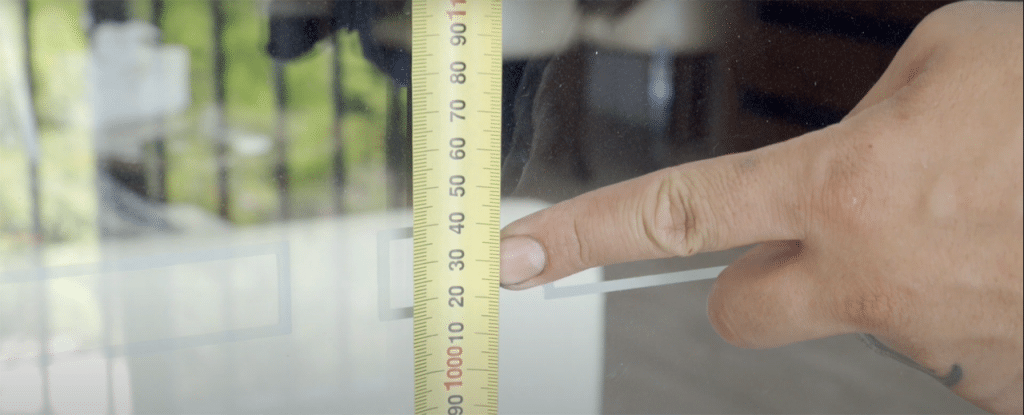
STEP 2 – Measure the width
In this example, measuring the width of both doors from interlock to interlock gives us 2022mm. Deduct 4mm to compensate for lock striker plate and H receiver. Then dive by 2 and deduct 1mm to a manufacture size of 1008mm.
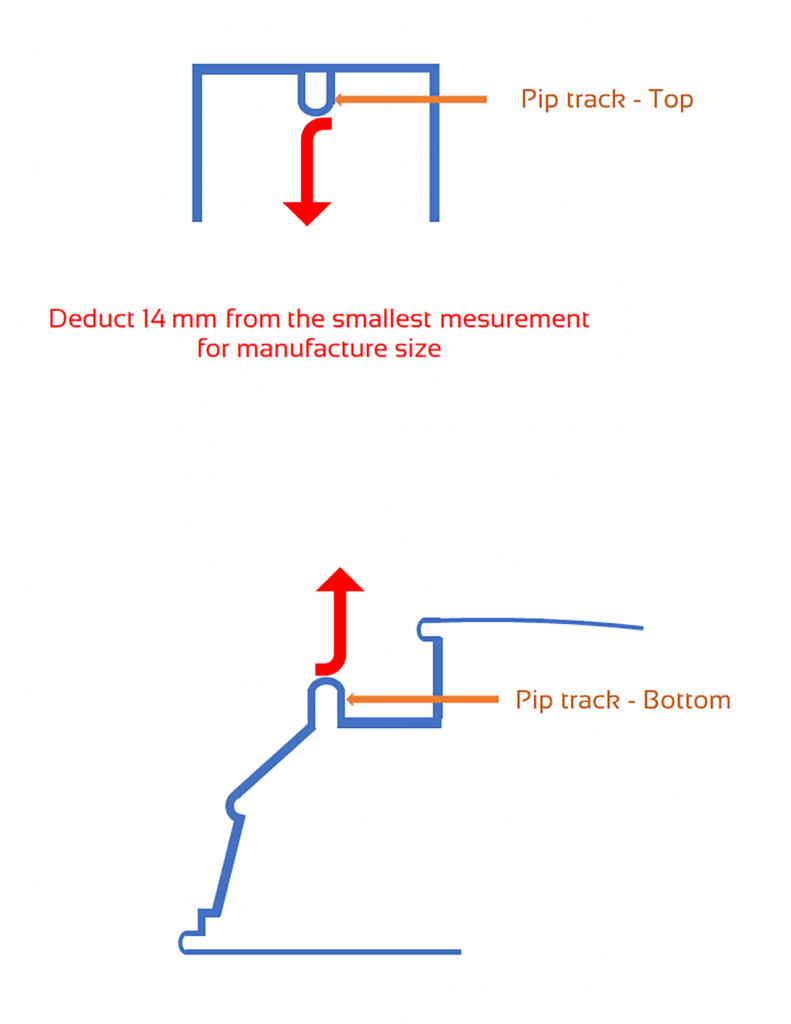
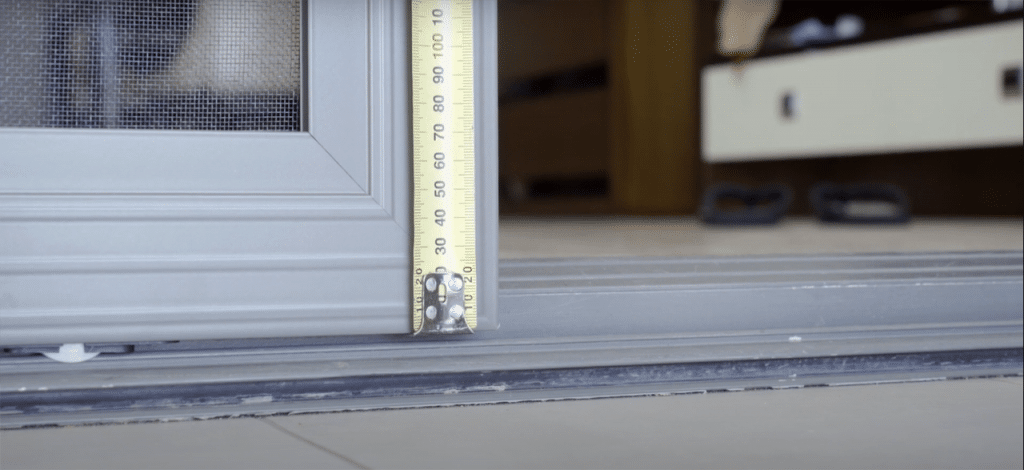
STEP 3 – Measure the height
Measure the height from the top pip track to the bottom pip track. Measure the left, middle & right sides. This door is reasonably straight with 2400 mm as the opening size. Deducting 14mm for top and bottom wheels gives a manufactured size of 2386 mm.
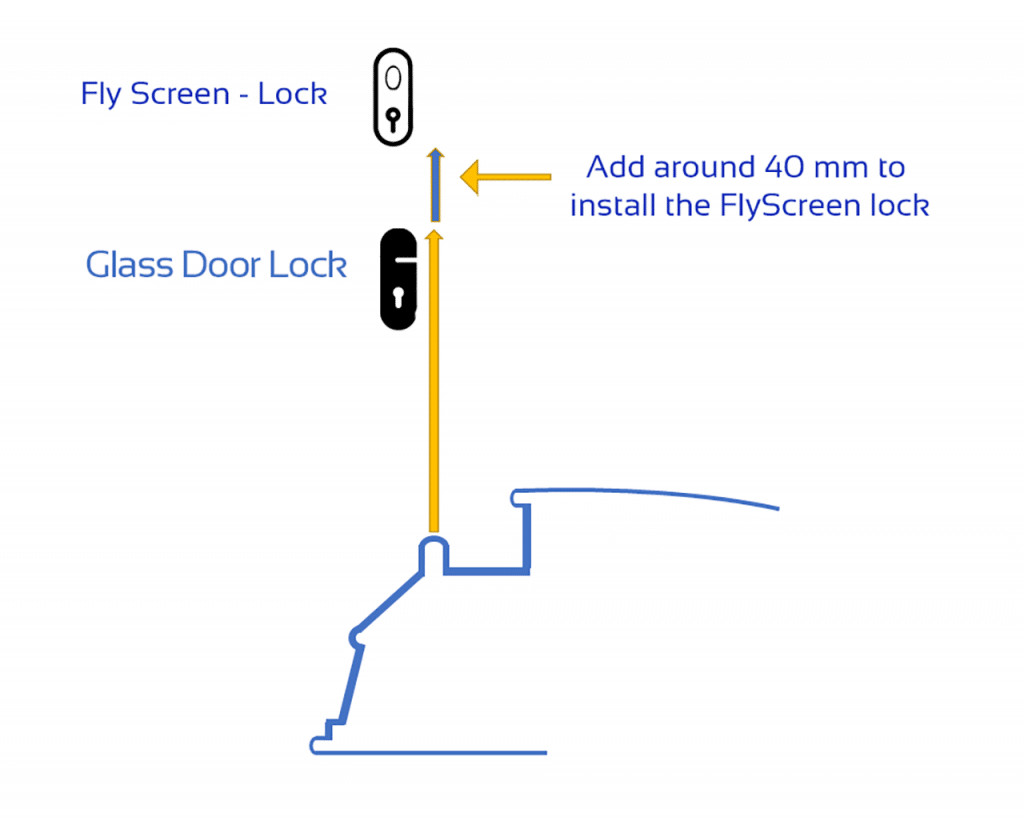
STEP 4 – Measure the lock height
Measure from the bottom channel to the top of the glass door handle. Add around 40 mm. The lock height will be 1150mm.
STEP 5 – Measure midrail position
If the door height is taller than 500mm, a mid-rail is needed. Measure from the bottom channel to the centre of glass decals. In this case, 1030 mm. Deduct 10 mm to compensate for the bottom wheels.
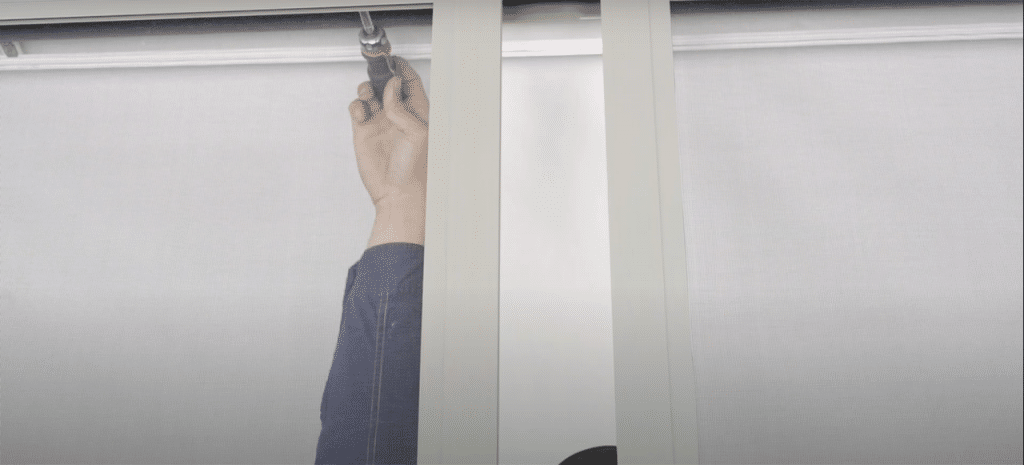
STEP 6 – Install the door
Attach top guides to the door for a smooth sliding. Lift the door into place making sure the lock and receiver are in the correct position.

STEP 7 – Square the doors
Square the doors with each other and the glass door set. Align both doors with the glass door back interlocks while checking to see both doors are aligned where they meet.
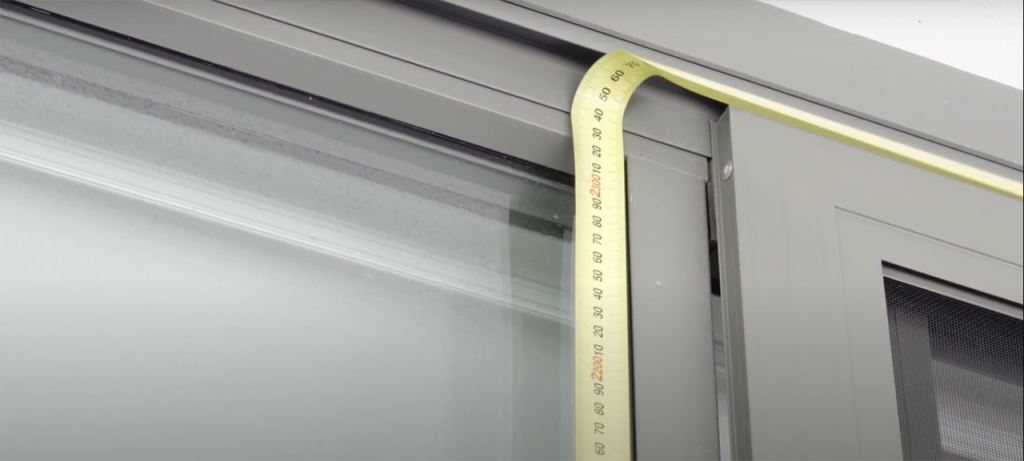
STEP 8 – measure H receiver
Once the doors are square, measure the H receiver. In this case, 2380mm. Deduct 4mm for the cut size. Note that this is a custom cut, because the H Receiver is close to the bottom sill. Then fix your H receiver with pan head screws.
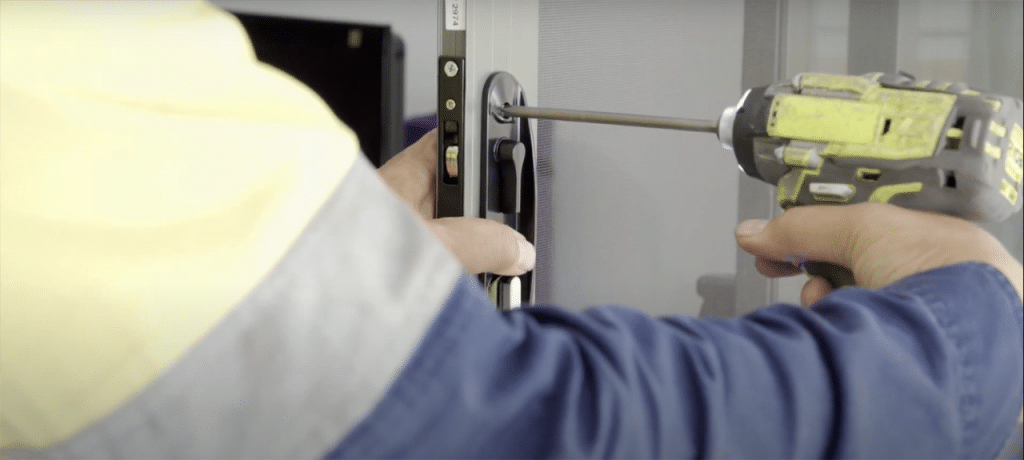
STEP 9 – Install the lock
Install the lock by installing the cylinder first. Face the cylinder tongue towards the jamb, turn the key and then insert and tighten with the cylinder screw provided.
Carefully Install the lock handle faceplates holding the door firmly to avoid slipping the drill bit and damaging the flyscreen mesh.
STEP 10 – Engage the striker
Engage the striker in the lock, peel the tape and close the door.
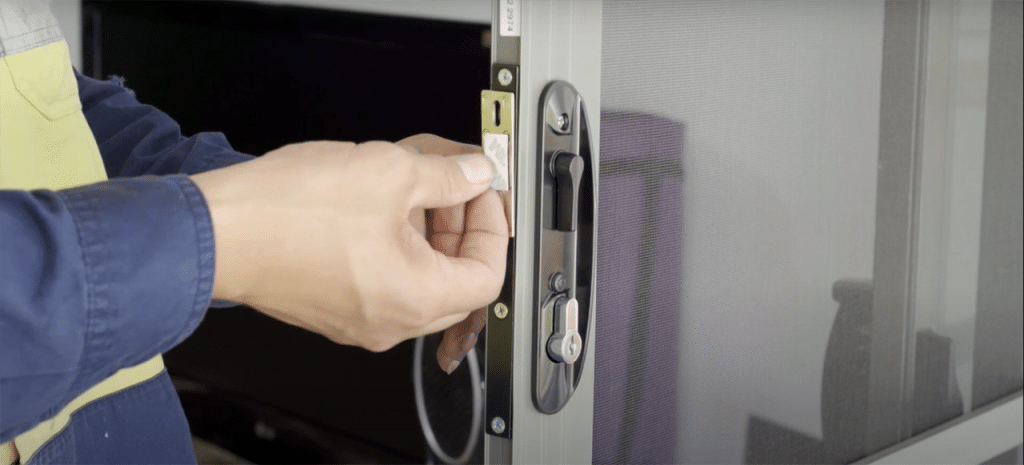
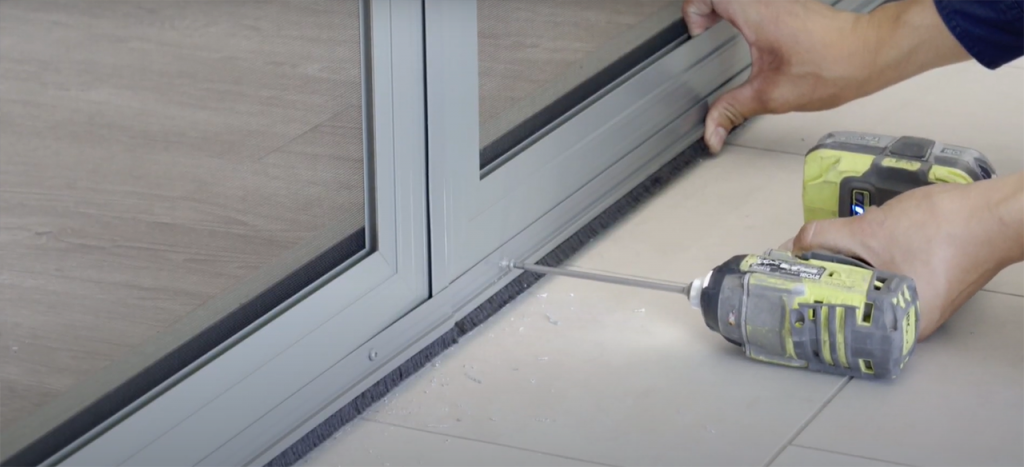
STEP 11 – check the striker position
Reopen the door, check the striker position, and fix off with countersunk screws.

STEP 12 – cut the interlocks
Measure and cut the interlocks and fit them to the back edge of the doors. Measure from the bottom of the fixed glass door side sill to the top of the glass. Deduct 10 mm for the cut size of your F-Interlocks.
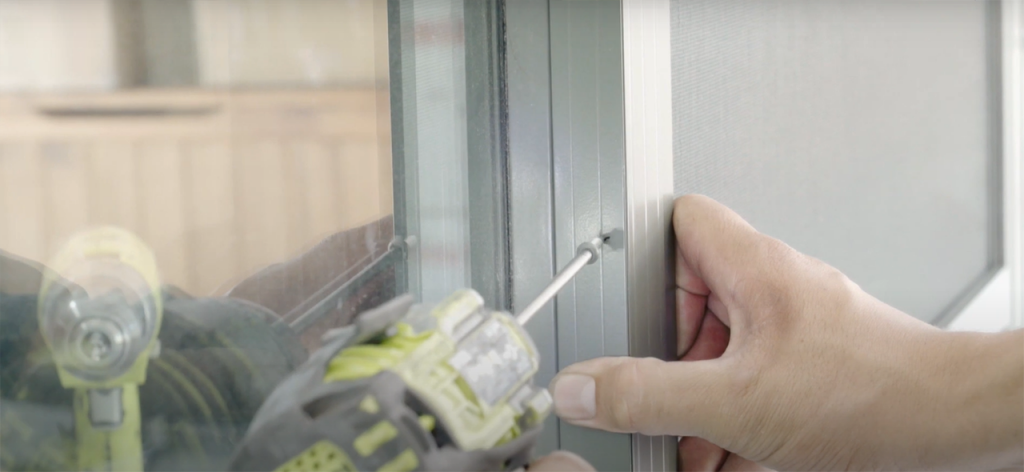
STEP 13 – Fix the F interlocks
Fix the F Interlock with security screws on both sliding doors.
STEP 14 – Install the bug strip
Install the bug strip. Close the doors, measure from the interlock to the receiver. Thread the pile into your bug strip, remove the tape and crimp off the ends. Install the bug strip with the doors closed to make sure both strips are close together in the centre.
There you go! You have learned how to measure and install an O X X O Insect Screen sliding door.