OVERVIEW
In this video we are going to show you how to measure and install an insect screen for an A&L Awning Window Chain Winder with a bottom channel. This seems easy but always use caution and recheck your measurements before sending them to the Ordering Portal.
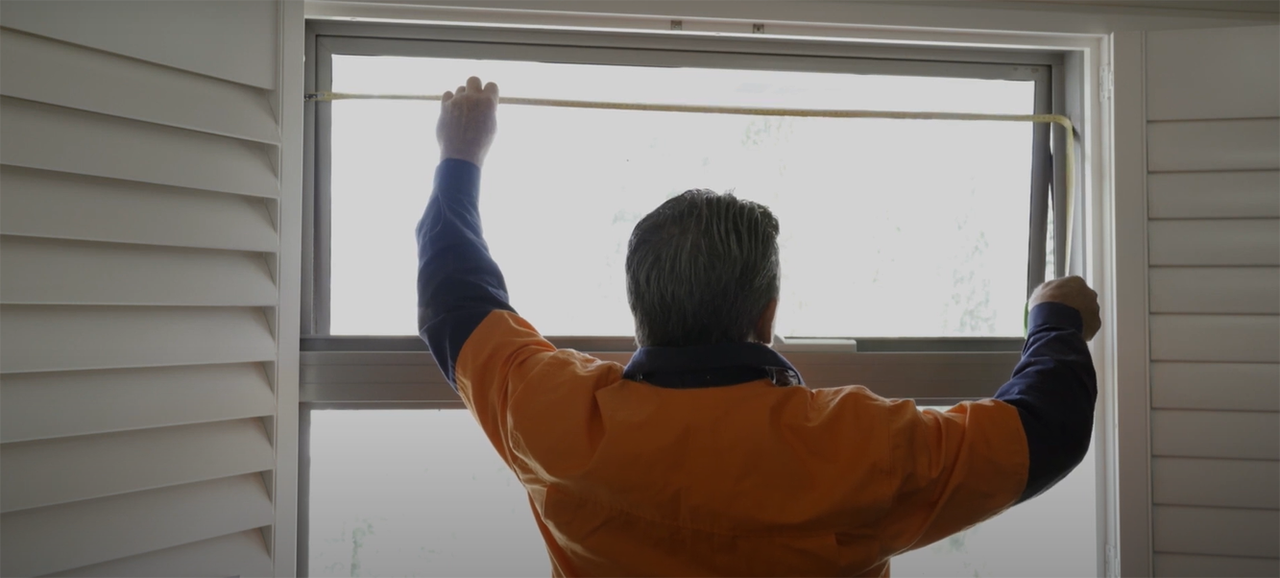
STEP 1 – Measure The width
The width is measured from the left side of the window jamb to the right side of the window jamb. The opening size width in this example is 1300mm. We usually deduct 2mm for the manufacturing size.
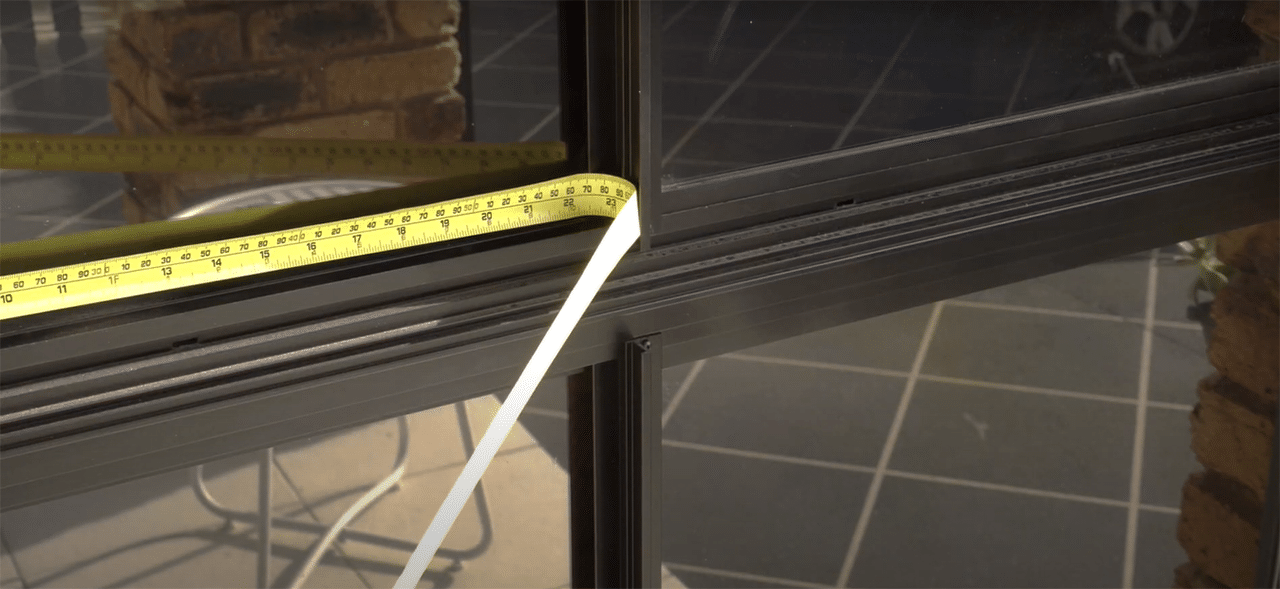
step 2 – Measure the drop
Measure the drop from the bottom of the channel where the insect screen will sit to the top of the window frame. The opening size is 503mm, Deduct 2 mm for manufacture size of 501mm.
STEP 3 – Add measurements to the portal
If the measurements are correct, you can add them to the Ordering Portal and complete your quoting process.
STEP 4 – pre-drill the holes
First, mark the push pins with Niko or whiteout for hole location, place the insect screen into the installed position and push the pin to mark the frame, then remove the screen and pre-drill the holes.
STEP 5 – Put the screen back
Put the screen back into the frame to engage the push pins. Fit the push pins to complete the installation.
Check out our “How to measure and install” videos on real customers showing the day by day operation with a wide range of doors and windows. We will also have training videos about our Online OrderingPortal.